...

A Comprehensive Guide to Inverter Assembling Process for Beginners

In this article, we will explore the basic principles of inverter assembling, key components, assembly tips to make it run smoothly, and troubleshooting techniques to overcome problems that may arise.

Author :

Reviewers:

A Comprehensive Guide to Inverter Assembling Process for Beginners

Basically, assembling an inverter is a process that requires precision and accuracy. Whether as a professional or just a hobby, making an inverter requires careful planning and a high understanding of the electricity world. This is because, in addition to requiring extra precision, the process also requires attention to safety in the assembly process.


In this article, we will explore the basic principles of inverter assembling, key components, assembly tips to make it run smoothly, and troubleshooting techniques to overcome problems that may arise.

Table of Contents
    Add a header to begin generating the table of contents
    YouTube_play_button_icon_2013–2017.svg (2)(1)

    Main Component in Inverter Assembling Parts

    Before doing an inverter assembling process, we should know the important components consist in inverter and their respective functions. The following are the main components in the inverter, along with their functions, to facilitate the inverter assembling process.

    • Transformer: is a component to change the current voltage.
    • Capacitors and Resistors: components that regulate and stabilize the flow of electricity.
    • MOSFET/ Inverter IGBT: Components that are useful for controlling and ensuring that the conversion process is efficient.
    • PCB (Printed Circuit Board): This is where the various components will be assembled.
    • Microcontroller or IC: This component has many functions in the inverter, but in essence, this component is the core of the inverter which functions to manage the operation of the inverter.
    • Cooling Fan: As a cooling device when the inverter temperature reaches the maximum temperature limit required.
    • Casing: As a protector of the components contained in the inverter.
    Main Component in Inverter Assembling Parts

    Tools and Materials Required in Inverter Assembling

    Before starting to do inverter assembling, you need to prepare some of the required tools and materials.

    Tools:

    • Soldering ion
    • Multimeter
    • Obeng set
    • Cutting pliers
    • Voltage measuring device (Voltmeter)

    Material:

    • Cable
    • PCB
    • Transformer
    • Resistor
    • Capacitor or Dioda
    • MOSFET/ IGBT
    • Casing
    • Heat sink
    • Thermal paste

    Step-by-Step Inverter Assembling Process

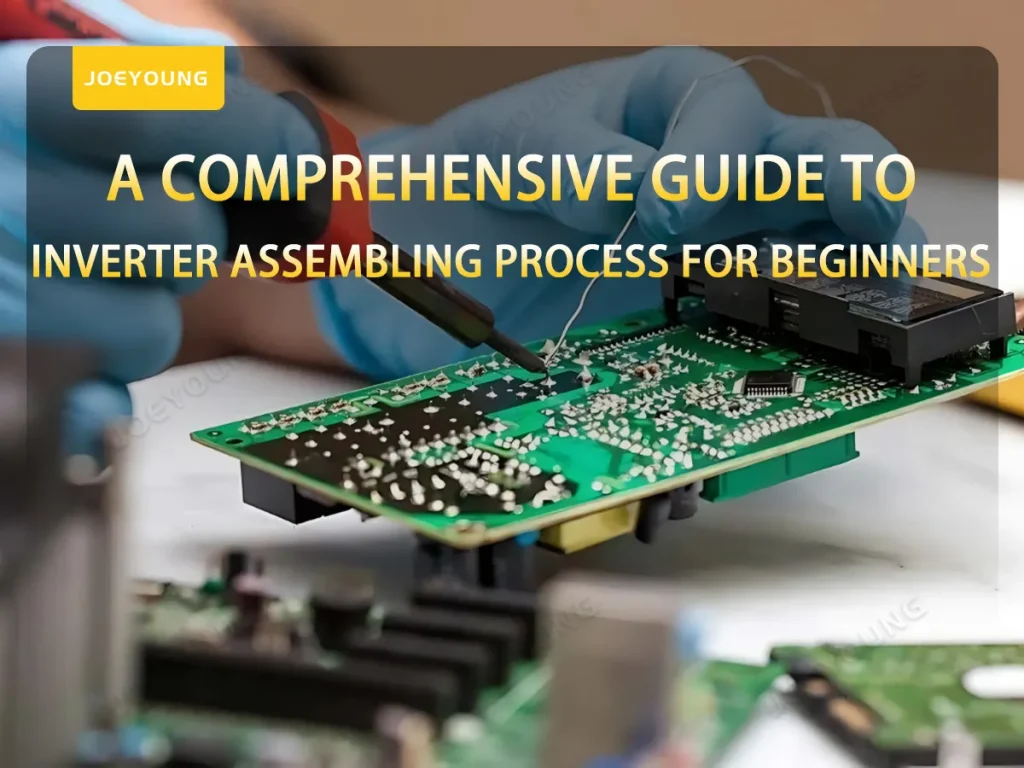
    In doing an inverter assembling process independently, there are several steps that need to be considered. The following are the steps in the inverter assembling process.

    Step-by-Step Inverter Assembling Process

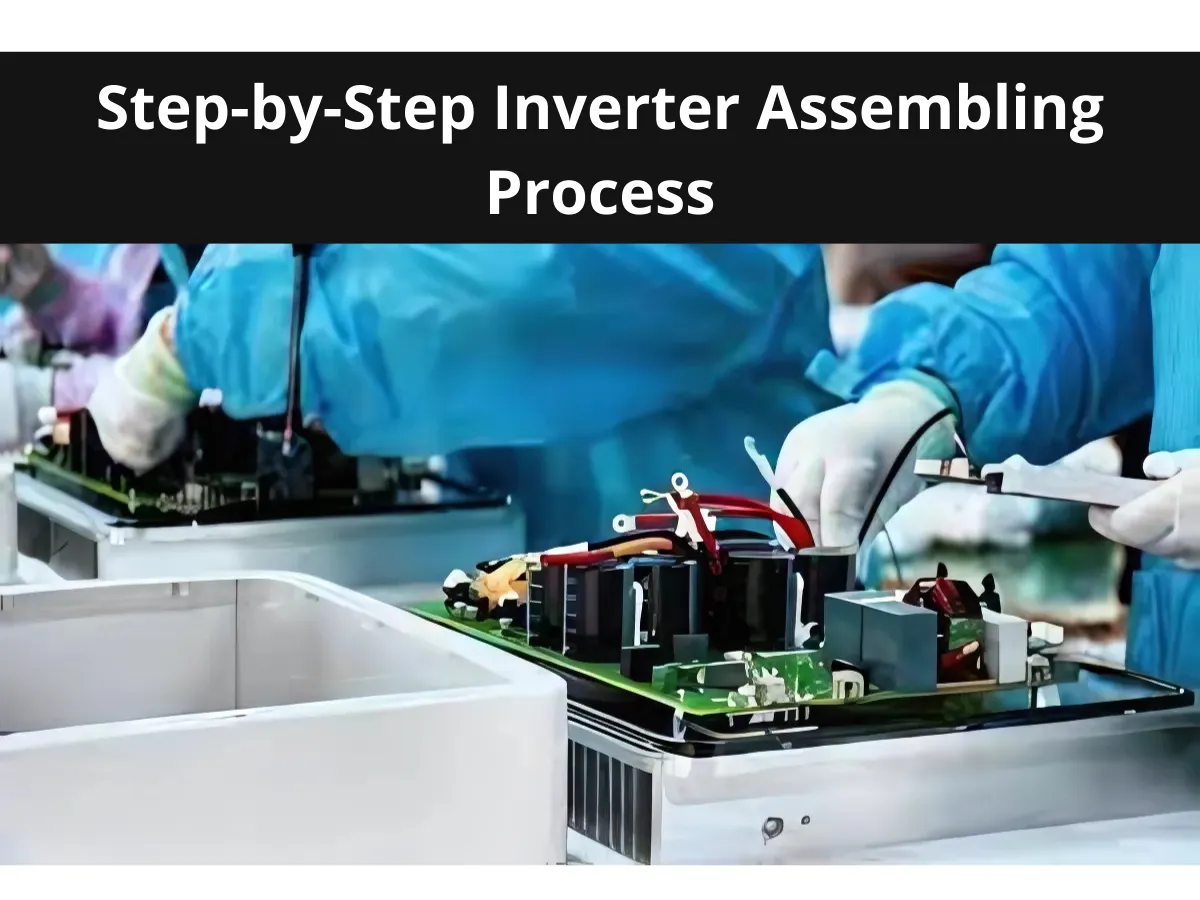
    1. First of all, prepare and check all the tools and materials needed, making sure that none of the tools or materials are missing and are not in a damaged condition.
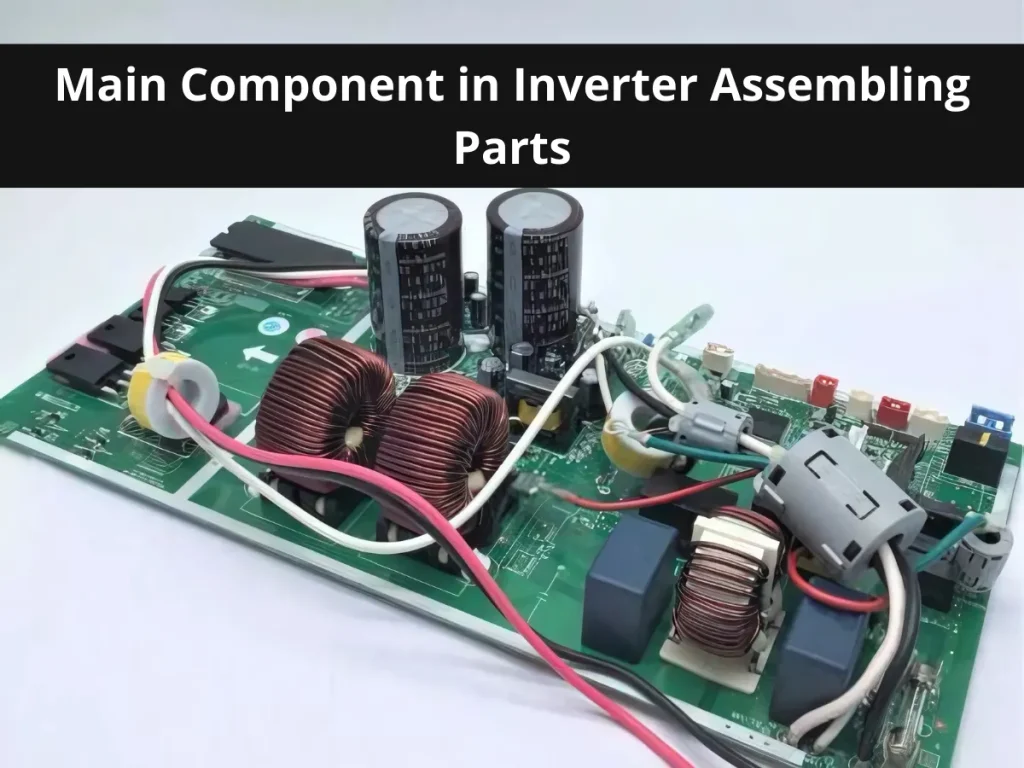
    2. Next, start soldering some components such as resistors, capacitors, and ICs according to the inverter assembling diagram found on the inverter PCB. Make sure to place the components according to the circuit diagram.
    3. Install the transformer and connect each cable according to the path provided on the PCB diagram.
    4. Install the heat sink and also the inverter cooling fan which functions to keep the inverter temperature at normal temperature and prevent the inverter from overheating.
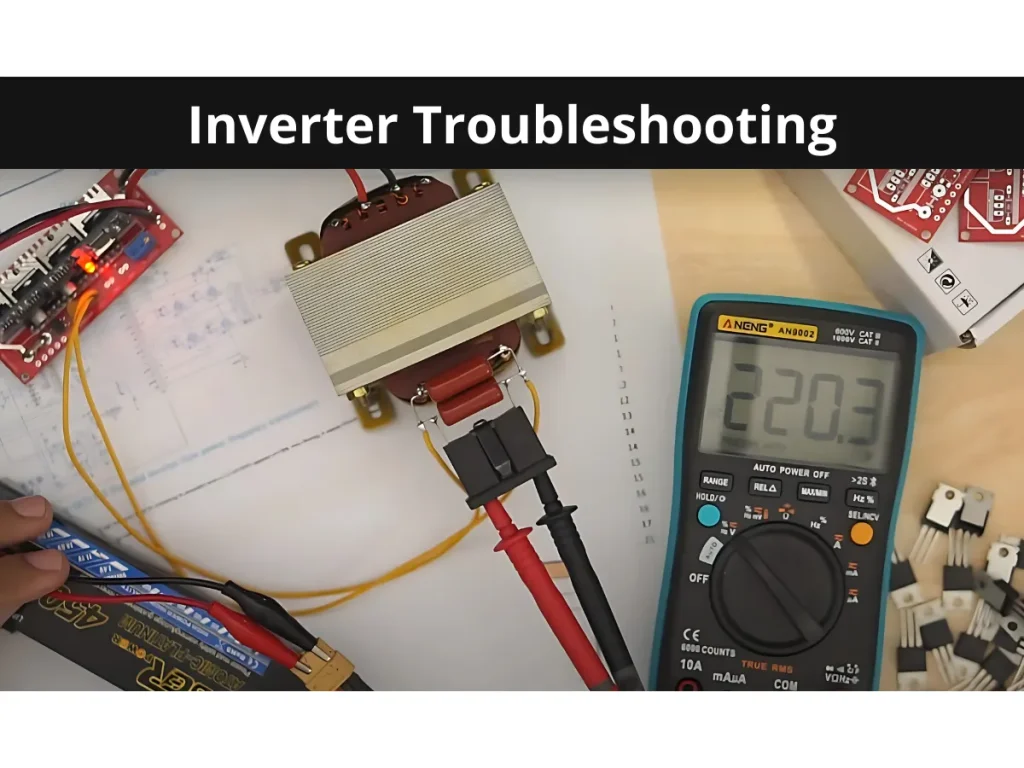
    5. Finally, when all components are installed properly, do an initial test of the inverter. Test each inverter connection using a multimeter before connecting it to a power source. Then record each test of the inverter to make it easier to monitor whether there are any errors or not.

    Inverter Assembling Safety Tips

    Inverter Assembling Safety Tips

    When doing inverter assembling on your own you also need to pay attention to some safety tips to ensure your safety during the assembly process.

    • Ensure that the assembly area is clean, has good airflow, and is not humid to avoid the risk of electrical short circuits. Also, use non-conductive mats to prevent the risk of electric shock, such as paper, plastic, or rubber.
    • Use insulating gloves and safety glasses to avoid electric shock or electrical sparks and surges that may occur during the inverter assembling process.
    • Use a multimeter before touching each component to ensure that the component is free of current before touching it.
    • Choose high-quality components in inverter assembling to avoid failure or damage to the inverter.
    • Do not connect the inverter to electricity while the assembly process is in progress.
    • Avoid directly touching the electrified parts when the inverter is connected to the power source.

    Inverter Testing and Troubleshooting

    After the inverter assembling process and component arrangement are complete, the next step that needs to be done is to conduct initial testing. It aims to find out if is there any failure in the device or not, if there is any inverter failure then the trouble can be resolved right away.

    Initial Testing of the Inverter

    Initial Testing of the Inverter

    After the inverter assembling process is done, it’s a good idea to do initial testing to find out whether the inverter is functioning as expected or not.

    • Do a Physical Inspection
      At this stage recheck all the connection cables connected to the inverter whether they are connected correctly according to the scheme and make sure that the cables are not loose or chipped. Also, check the soldering and make sure it is not cracked or accidentally touching other components.
    • No-Load Testing
      Before testing by connecting the inverter to a power source, you need to first check the inverter using a multimeter to ensure there is no short circuit. Then connect the inverter to the power source and check the inverter again with a multimeter to find out whether the output voltage is sufficient or not. If the output does not match then immediately turn off the inverter and disconnect it from the power source.
    • Testing with a Light Load
      Test with a light load first, such as a low-power lamp as the initial load. Then check whether the load turns on and operates normally, as well as whether the inverter produces a buzzing sound or the components become hot. Check the output voltage again when the load is connected to ensure the stability of the inverter.
    • Testing with Maximum Load
      Gradually increase the load until it reaches the maximum limit of the inverter. Note whether there is a voltage drop or overheating of the components inside the inverter. Test for 30 minutes – 1 hour to ensure that the inverter is working stably.

    Troubleshooting

    Inverter Troubleshooting

    If the inverter is not working as expected, take the following steps.

    • No Voltage Output
      If the inverter shows no voltage output, first check the connection of the inverter with the connected power source. Also, it may be caused by a blown fuse or some damaged components so recheck the fuse and components carefully.
    • Unstable Voltage Output
      If this problem occurs, then you need to recheck some inverter components such as capacitors or oscillators (IC). If there is damage to these components replace them with new components, or it could be that the inverter has poor grounding, so make sure that the inverter is well connected.
    • Inverter Overheating
      If the inverter is overheating make sure the cooling fan is working properly, and make sure the inverter load does not exceed the capacity to start reducing the load borne by the inverter.
    • Output Does Not Produce Appropriate Waveforms
      Check the inverter or PWM wave driver section whether it is functioning properly or not. Also, check the components such as transistors or diodes if they are having problems producing the waveform.
    • Inverter shuts down under heavy load
      In this case, you need to pay attention to the capacity of the battery you have, whether it matches the load borne or not. Also, the inverter may not be getting the right current, so check the power circuit on the inverter to make sure the current flowing is enough for the load.

    Conclusion

    Based on the explanation above, we can find out how the steps, tools, and materials, as well as the main components needed in inverter assembling. In addition, we also get to know the safety tips, testing, and troubleshooting actions when facing various problems during the inverter testing.


    When you face problems assembling an inverter on your own and you need the guidance of an expert, you can contact us and we will be happy to provide guidance.

    Related posts
    inverter-repair
    A Practical Guide to Power Inverter Repair and Care

    Even the most dependable inverters can face occasional problems. When this happens, knowing how to troubleshoot and power inverter repair is important. This guide will walk you through common inverter problems, simple maintenance tips, and when to call a professional.